

Most dogs don’t need their ears cleaned very often. A healthy ear, in a dog without ear problems, mostly takes care of itself — the ear canal is designed to move wax and debris outward on its own. But some dogs do need regular cleaning: floppy-eared breeds, dogs who swim, dogs who have had ear infections before, and dogs who just seem to build up wax faster than average.
If your dog is one of those, a gentle clean at home every week or two can keep his ears comfortable and can help you spot problems early. The key word is gentle. The ear is a sensitive place, and the wrong technique or the wrong product can do more harm than good.
This guide covers when cleaning is actually needed, what to use, the step-by-step method, and the warning signs that mean you should skip the home clean and call your vet instead.
Does your dog actually need his ears cleaned?
For many dogs, the answer is no — or not often. Here’s how to tell.
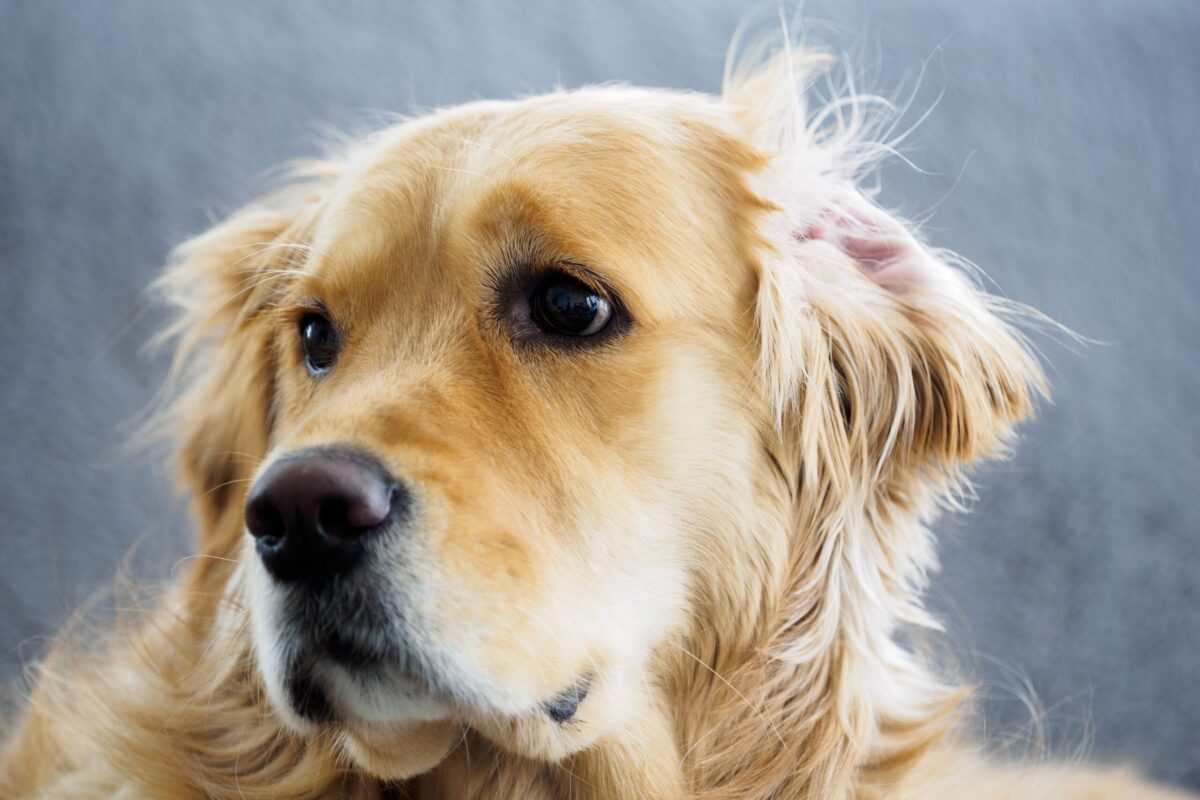
Look, don’t assume. Lift the ear flap and look inside. A healthy ear is pink, clean, and has very little odour. A small amount of light brown wax is normal. If the ear looks clean and smells like nothing much, leave it alone.
Know the dogs who need it more. Floppy-eared breeds — Cocker Spaniels, Basset Hounds, Labrador Retrievers, Golden Retrievers — have ear canals that stay warm and damp, which encourages wax and moisture to build up. Dogs who swim regularly, dogs with hair growing inside the ear canal, and dogs who have had ear infections before also tend to need more frequent cleaning.
Watch for the signs. A dog who shakes his head often, scratches at his ears, holds his head tilted to one side, or whose ears smell yeasty or unpleasant is a dog whose ears need attention. But those signs can also mean an infection, which is a different matter — see the warning signs section before you reach for the cleaner.
Ask your vet. If you’re not sure whether your dog needs regular ear cleaning, ask at his next checkup. Your vet can show you what his ears look like when they’re healthy, how often to clean them, and whether a particular ear cleaner suits him. Our guide to your dog’s first vet checkup explains what a routine visit usually involves.
What to use — and what never to use

The product matters. The wrong cleaner can irritate the ear canal or make a problem worse.
Use a vet-recommended ear cleaner. These are made specifically for dogs, with a pH and formula designed for the ear canal. You can buy them from your vet, from a pet shop, or online. If your vet has recommended a particular one, use that. If not, a plain, gentle dog ear cleaner without added fragrance is a safe starting point — and your vet can confirm the choice.
Use cotton balls or gauze. Soft cotton balls or squares of gauze are the right tools for wiping the outer ear. They’re soft, they absorb well, and they can’t go too deep.
Never use cotton buds (Q-tips) inside the ear. This is the most important rule. A cotton bud pushes wax and debris deeper into the ear canal, and it can injure the eardrum if the dog moves suddenly. It can also leave cotton behind. Cotton buds have no place in a dog’s ear, ever.
Never use homemade mixtures unless your vet has specifically told you to. Vinegar, alcohol, hydrogen peroxide, and other home remedies are often recommended online, and they can all irritate an already sensitive ear. Alcohol stings on sore skin. Vinegar can make an infection worse. If your dog’s ears are healthy, a proper ear cleaner is all you need. If they’re not healthy, he needs a vet, not a home remedy.
Never use water. Water left in the ear canal creates exactly the warm, damp environment that encourages problems. Ear cleaner is designed to evaporate and to lift debris out; water just sits there.
The step-by-step routine
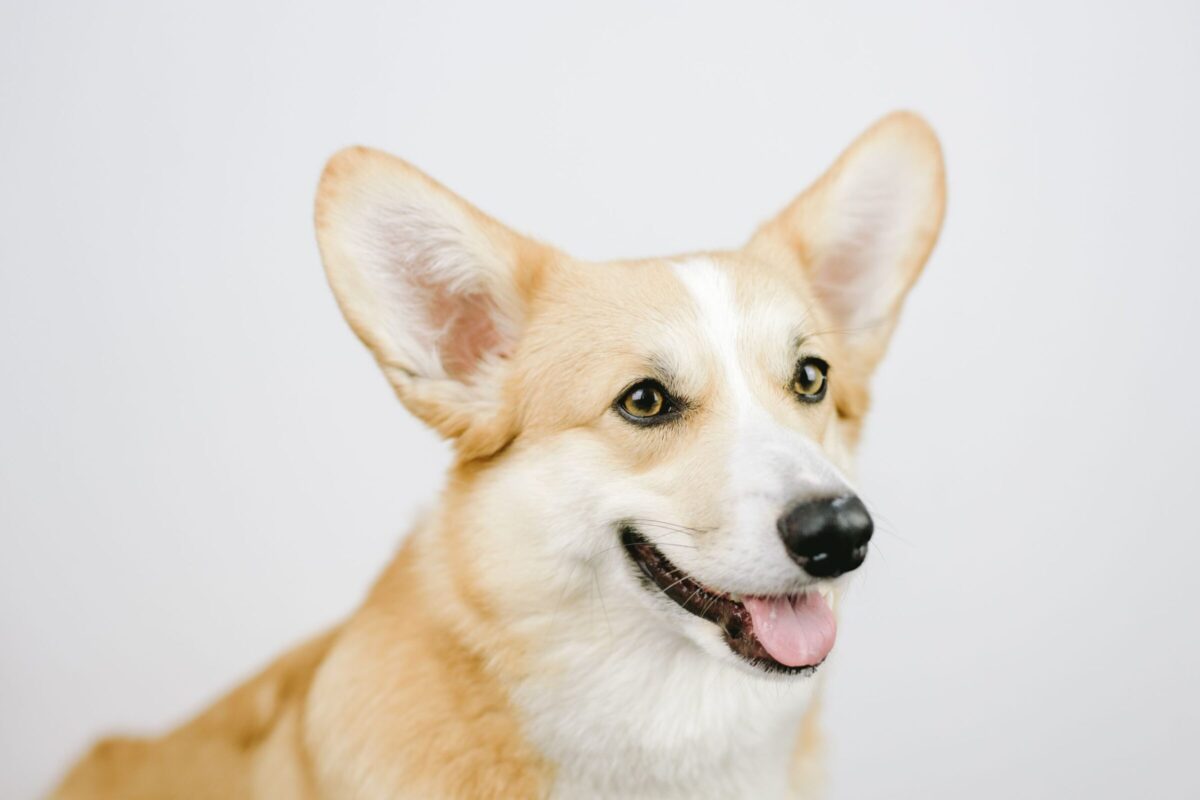
Set aside ten minutes, and do it when your dog is calm — after a walk, or during a relaxed evening. Have everything ready before you start: the ear cleaner, cotton balls or gauze, and a few treats.
1. Get comfortable. Sit on the floor with your dog, or have him lie down. If your dog is large, you may find it easier to do one ear at a time with him sitting beside you. Keep your body relaxed — if you’re tense, he’ll be tense.
2. Lift the ear flap gently. Hold the ear flap up and back so you can see into the ear canal. Take a look first. If the ear is red, swollen, very smelly, or full of dark discharge, stop — that’s a vet visit, not a home clean. See the warning signs below.
3. Fill the ear canal with cleaner. Hold the bottle at the opening of the ear canal and squeeze in enough cleaner to fill the canal. You don’t need to be precise — enough that you can see the liquid sitting in the ear. Don’t push the nozzle deep into the ear; just hold it at the opening.
4. Massage the base of the ear. With the ear flap still held up, use your thumb and fingers to gently massage the base of the ear — the soft, cartilage part below the ear, where it meets the head. Massage for about twenty to thirty seconds. You’ll hear a squelching sound, which means the cleaner is working its way through the canal and loosening the wax. Most dogs enjoy this part, or at least tolerate it well.
5. Let him shake. Step back and let your dog shake his head. This is how the loosened wax and cleaner come out of the ear canal — the shake does the work for you. Have a towel handy, because ear cleaner can fly.
6. Wipe the outer ear. Take a cotton ball or a piece of gauze and gently wipe the parts of the ear you can see — the folds of the ear flap and the opening of the canal. Wipe away the wax and cleaner that the shake brought up. Don’t push anything into the canal. If it isn’t visible from outside, it isn’t your job to reach it.
7. Reward him. Give a treat and a calm word of praise. You want ear cleaning to be associated with good things, not with being held still against his will.
8. Repeat on the other ear. Use a fresh cotton ball for the second ear, so you’re not transferring anything from one ear to the other.
That’s it. The whole process should take five to ten minutes for both ears. If your dog is stressed or struggling, stop and try again another day — a half-finished clean is better than a stressful one.
How often should you clean your dog’s ears?
It depends on the dog.
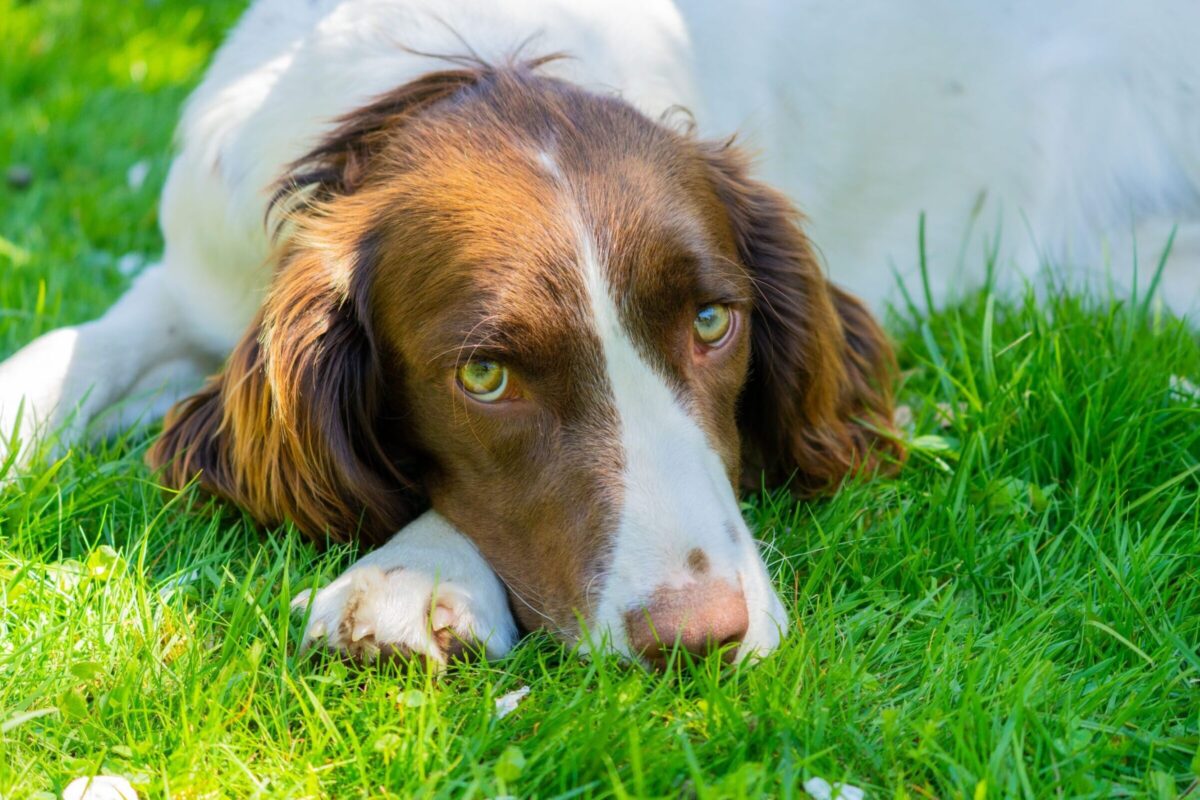
Healthy ears, no history of problems: once a month is plenty, and many dogs don’t need even that. Check the ears weekly, clean them only when you can see wax building up.
Floppy ears or regular swimming: every one to two weeks is a common rhythm. Dogs who swim should have their ears cleaned after swimming, to dry the canal out — moisture left sitting in a floppy ear is one of the most common routes to an infection.
Dogs with a history of ear infections: your vet may suggest a specific schedule. Follow it. Some dogs need weekly cleaning as part of keeping infections from coming back.
More is not better. Over-cleaning irritates the ear canal and strips away the natural oils that protect it. If you’re cleaning every few days and the ears still look dirty, the problem probably isn’t wax — it’s something that needs a vet’s attention.
After swimming or baths

Water in the ears is the most common cause of ear trouble in otherwise healthy dogs. If your dog swims, or if water gets in his ears during a bath, a quick clean afterwards helps a lot.
After swimming, let him shake — that’s his own drying system — and then use ear cleaner to help dry the canal out. The cleaner is designed to evaporate, which is exactly what you want after water exposure. If your dog swims often, this after-swim routine is worth making a habit.
During baths, try to keep water out of the ears in the first place. A cotton ball placed loosely in the ear opening during a bath (and removed afterwards) can help, but don’t push it in. If you wash your dog often, our guide to dog shampoos covers choosing a gentle product and bathing without drama.
Warning signs: when to skip the clean and call the vet
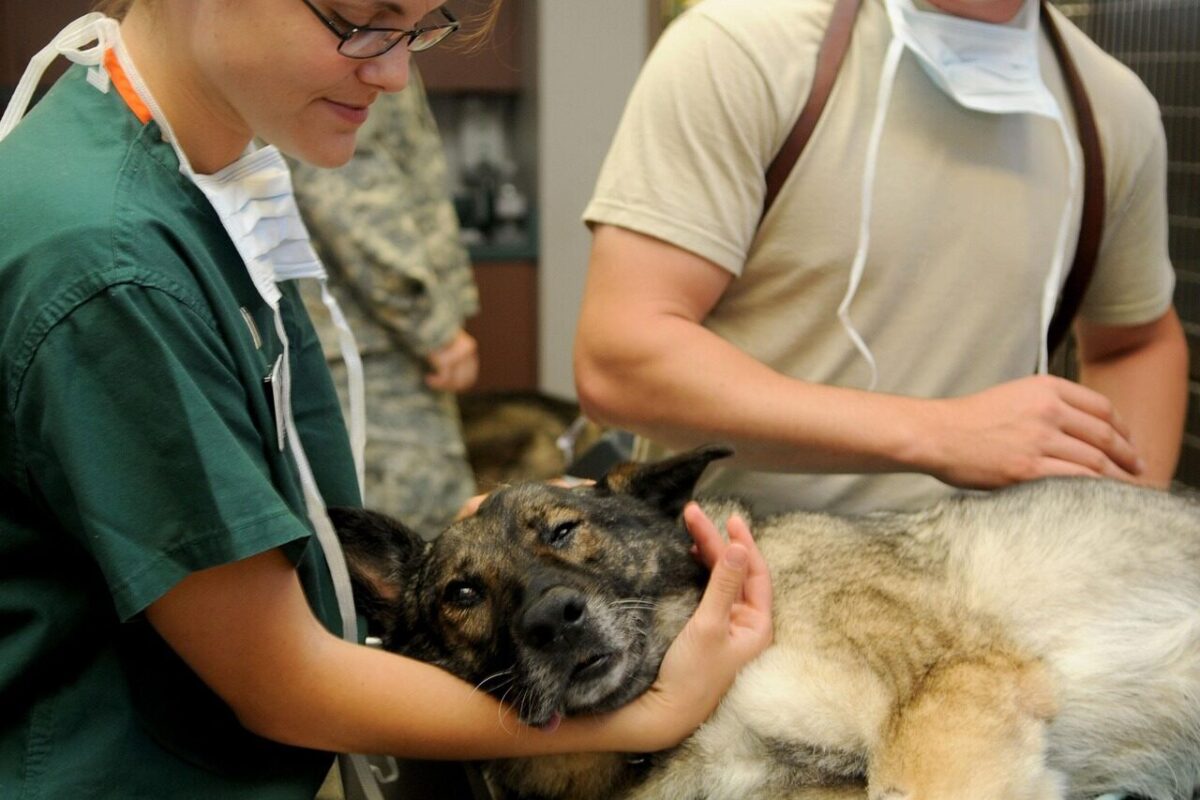
Home cleaning is for healthy ears. If you see any of the following, don’t clean — call your vet instead.
- A strong, unpleasant, or yeasty smell coming from the ear.
- Redness or swelling inside the ear or on the ear flap.
- Dark brown or black discharge, or a lot of discharge of any colour.
- Your dog cries, flinches, or pulls away when you touch the ear — that means it hurts.
- A head tilt that doesn’t go away, or a dog who holds his head to one side constantly.
- Balance problems, stumbling, or walking in circles.
- Crusts, scabs, or sores on the ear flap.
- A foreign object in the ear — a grass seed, a piece of debris — that you can see but can’t safely remove.
- An ear that was fine and suddenly isn’t. A sudden change, especially with pain or smell, is worth a prompt call.
Cleaning an infected ear at home can push debris deeper, cause pain, and mask the problem without treating it. Your vet can look inside the ear properly, identify what’s going on, and prescribe the right treatment. Ear infections are very treatable — but they need the right treatment, not a home clean.
If your dog has had ear infections before, it’s worth knowing that some dogs are prone to them because of allergies or other underlying issues. Your vet can talk through whether there’s a bigger picture to address.
Getting a nervous dog used to ear cleaning

Some dogs hate having their ears touched. If yours is one of them, don’t force it — build up gradually.
Start with touching, not cleaning. For a few days, just lift the ear flap gently during a cuddle, give a treat, and let go. That’s the whole exercise. You’re teaching him that ear-touching is safe and rewarding.
Add the massage. Once he’s comfortable with the flap being lifted, add a gentle massage at the base of the ear — no cleaner yet. Treat, praise, done.
Add the cleaner last. When he’s relaxed about the touching and the massage, introduce the cleaner. By then, the only new part is the liquid, and he’s already comfortable with everything else.
Keep it short and positive. If he gets stressed, stop. You can always finish the other ear tomorrow. A dog who learns that ear cleaning ends when he’s uncomfortable will fight it every time. A dog who learns that it’s quick, gentle, and followed by a treat will tolerate it — and some will even enjoy the massage.
Get help if you need it. If your dog is large, wriggly, or genuinely distressed, ask a second person to hold and soothe him while you clean. Two calm people beat one stressed person every time.
A note on ear hair

Some breeds — Poodles, Schnauzers, Shih Tzus, and others — grow hair inside the ear canal. There’s a long-standing debate about whether that hair should be plucked, and the honest answer is that it depends on the dog. For some dogs, plucking helps air circulate and reduces infections. For others, plucking irritates the canal and causes problems.
Don’t pluck ear hair at home unless your vet or groomer has shown you how and told you it’s right for your dog. If the hair is matted or clearly blocking the canal, ask your vet about it at his next visit.
If your dog has had ear infections before

A dog who has had one ear infection is more likely to have another, and the cleaning routine matters more for him than for a dog with no history. The rhythm your vet suggests — often weekly cleaning with a specific product — is part of the prevention plan, not just a nice extra.
Keep a simple note of when you clean his ears and what you see: a little wax, a slight smell, nothing at all. Over a few months, that note shows you the pattern, and it gives your vet something concrete to work with if the infections come back. A dog whose ears flare up every few weeks despite regular cleaning may have an underlying cause — often an allergy — that cleaning alone won’t fix. That’s a conversation for your vet, not a reason to clean more often. More cleaning on an already irritated ear usually makes things worse, not better.
Frequently Asked Questions
How often should I clean my dog’s ears?
It depends on the dog. Healthy ears with no history of problems may only need a clean once a month, or less. Floppy-eared dogs and dogs who swim often need cleaning every one to two weeks. Dogs with a history of ear infections should follow the schedule your vet suggests. Over-cleaning irritates the ear, so clean only when you can see wax building up.
Can I use cotton buds to clean my dog’s ears?
No — never put cotton buds inside a dog’s ear. They push wax and debris deeper into the canal, can injure the eardrum if the dog moves, and can leave cotton behind. Use a vet-recommended ear cleaner, massage the base of the ear, let the dog shake, and wipe only the outer ear with a cotton ball or gauze.
What should I use to clean my dog’s ears at home?
A vet-recommended dog ear cleaner, plus cotton balls or gauze for wiping the outer ear. Don’t use water, alcohol, vinegar, or hydrogen peroxide unless your vet has specifically told you to — these can irritate the ear canal. If your vet has recommended a particular cleaner, use that one.
My dog’s ears smell bad. Should I clean them?
A bad smell is a sign to call your vet, not to clean at home. A strong, yeasty, or unpleasant odour usually means an infection or another problem that needs proper diagnosis and treatment. Cleaning an infected ear at home can push debris deeper and cause pain. Let your vet look inside the ear first.
Why does my dog shake his head after I clean his ears?
Head shaking after cleaning is normal — it’s how the dog clears the cleaner and loosened wax out of the ear canal. In fact, the shake is part of the process: you massage the cleaner in, and the shake brings the debris out. If the shaking continues for hours, or the dog seems in pain, call your vet.
Can I clean my dog’s ears after he goes swimming?
Yes, and you should. Water left in the ear canal, especially in a floppy-eared dog, creates the warm, damp conditions that lead to infections. After swimming, let him shake, then use ear cleaner to help dry the canal. Making this a habit after every swim is one of the best ways to prevent ear problems in dogs who love the water.